Most devices with USB capability have almost complicit plug-and-play, the Nintendo Switch mostly does too–almost. In this brief tutorial, I’ll tell you how to transfer switch screenshots via USB with no problems. This includes videos captured onto the Switch as well. Let’s get started.
The ability to transfer screenshots from the Nintendo Switch can be ironically confusing with all the support for social media the console has. There are a lot of content creators out there, and when it comes to finding media, this is one reason these Switch screenshots can be almost crucial.
Note: I have learned that if your computer or laptop has a USB-C port, you can also connect straight to the Nintendo Switch dock.
Looking for deals on video games & accessories?
Go to Mr. Dave's Video Game Shop on eBay!
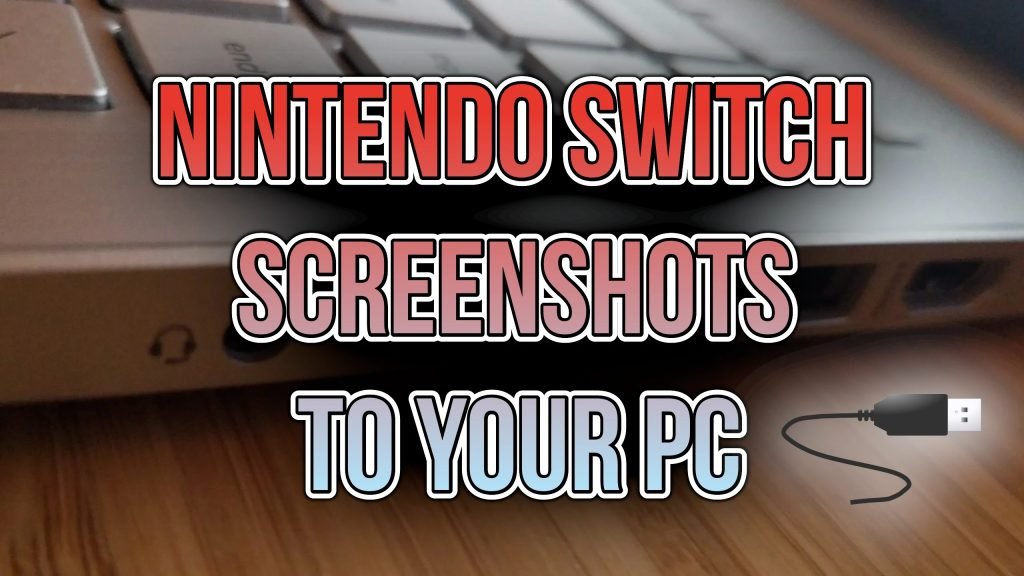
To Transfer Switch Screenshots via USB, Do This
To begin with, here is an initial tip for new Switch owners here, there is a button on the joy-con as well as a pro-controller to take screenshots. Press it quickly and it captures it, saving it to the switch memory. Hold it for 3-5 seconds and it will record the last 30 seconds of gameplay. You must be in-game to use this.
With this knowledge, you should be aware that there is a menu option on the home screen in the circle buttons below to look at screenshots. This shows everything you have saved.
To aid you in this process, here is a step-by-step list of how to Transfer Switch Screenshots via USB with these steps.
- To transfer them, go to the gear for settings
- Scroll down to “Data Management”
- Next, head to “Manage Screenshots and Videos”
- Select Connect to PC Via USB
- Next, plug in your USB-C cable’s small end first to the bottom of the switch display (you’ll need to remove it from the dock.)
- Plug the regular USB end into your computer or laptop
- Open File Explorer (I guess this would be in Finder for Mac OSX)
- Next, go to PC then “Nintendo Switch”
- You’ll see a list of folders with game names.
- Open the game screens you want to transfer.
- Copy and paste to your computer
- That’s it, you’re done.
- Push the disconnect button on the Switch.
Screenshots From Instructions


If you make YouTube videos or share gameplay and screenshots for blogging or other reasons, this really does make things go a lot faster. You can upload directly to Facebook and Twitter on the Switch, but I prefer this method.
Thanks so much for reading Mr. Dave Pizza. I hope this helped. Have a look around my site if you like, as you’ll notice I have created many content videos and used screenshots to review articles. I have written some other tutorials regarding gaming and game development as well, under the How-To section.